How to make seeded paper

How to make seeded paper stationery this spring
Embrace nature and sustainability to make your own seeded paper this spring. Make bundles of mini seeded notelets wrapped in gingham ribbon or a whole botanical stationery set by combining your paper with pressed flowers…
Seeded papers | Materials
A few sheets of recycled paper (you can use newspaper too or old envelopes etc)
A blender
Water
Seeds (I used a wildflower seed for the small-grained paper and cosmos for the mini seed notecards)
Baking tray & sieve
Ribbons & Pinking shears (optional and not essential)
Pressed flowers and glue (optional and not essential)
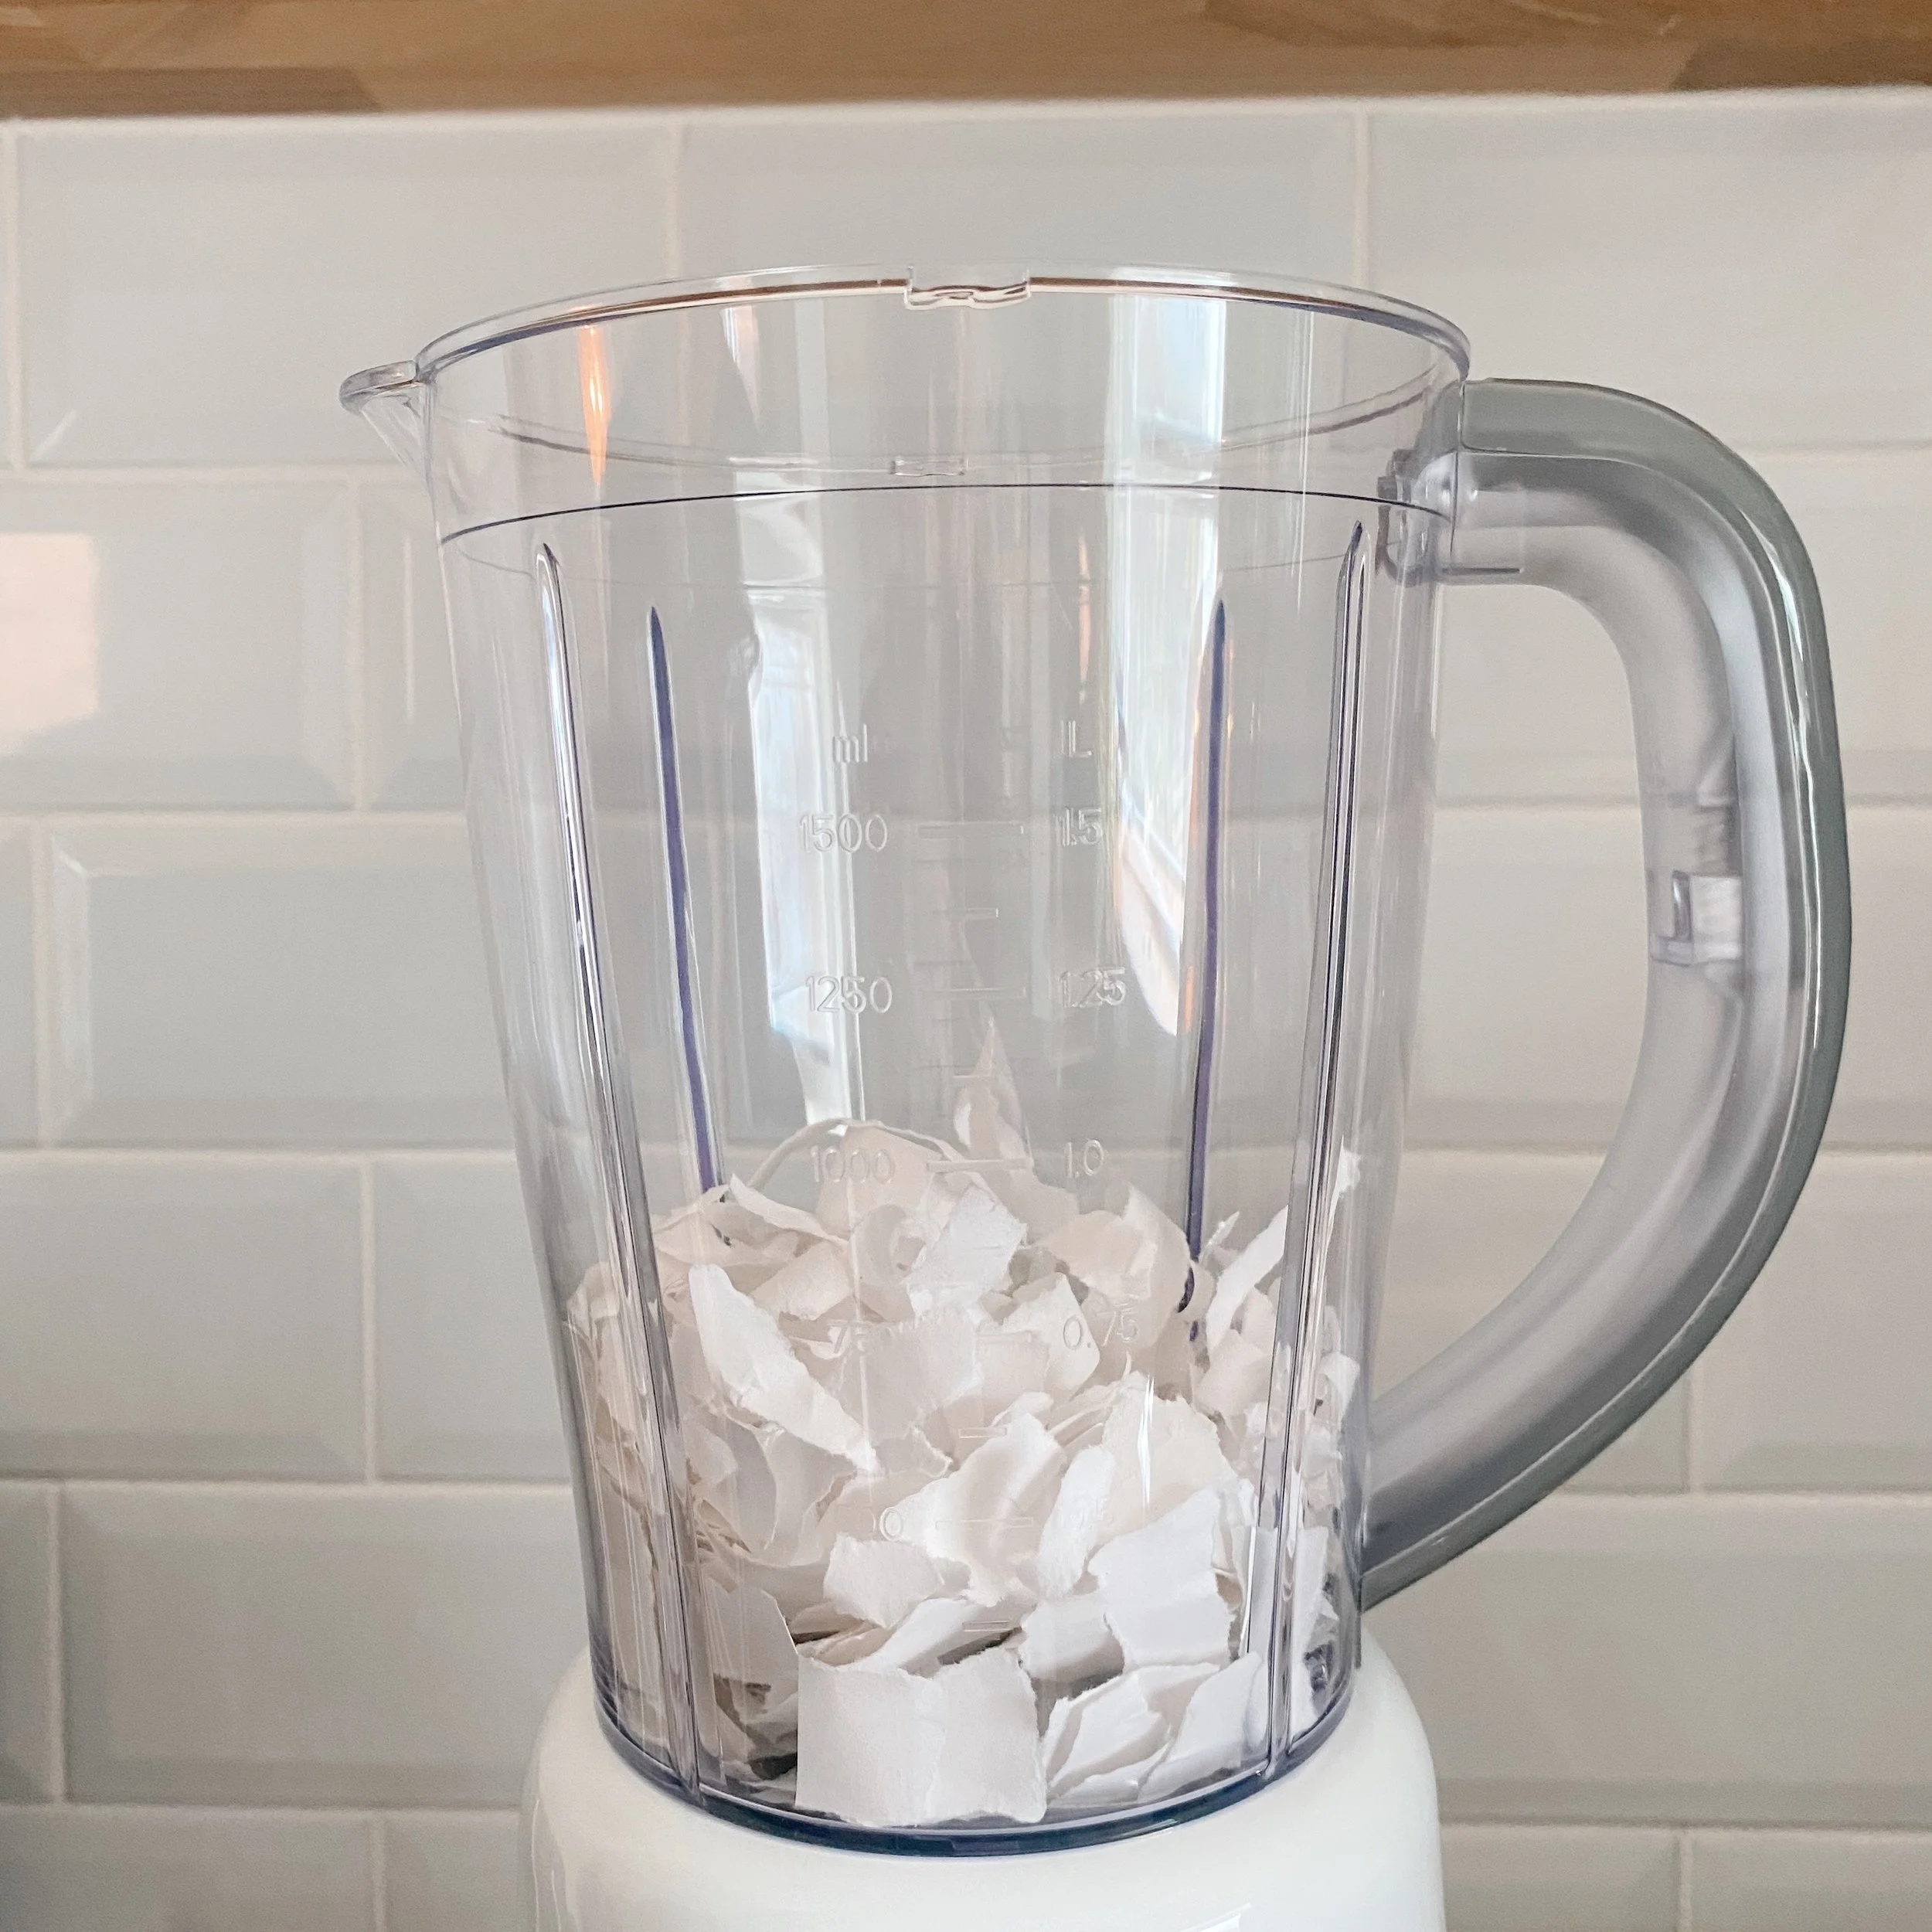
Firstly rip your paper into small shreds & place it into the blender, add water so your paper shreds are covered.
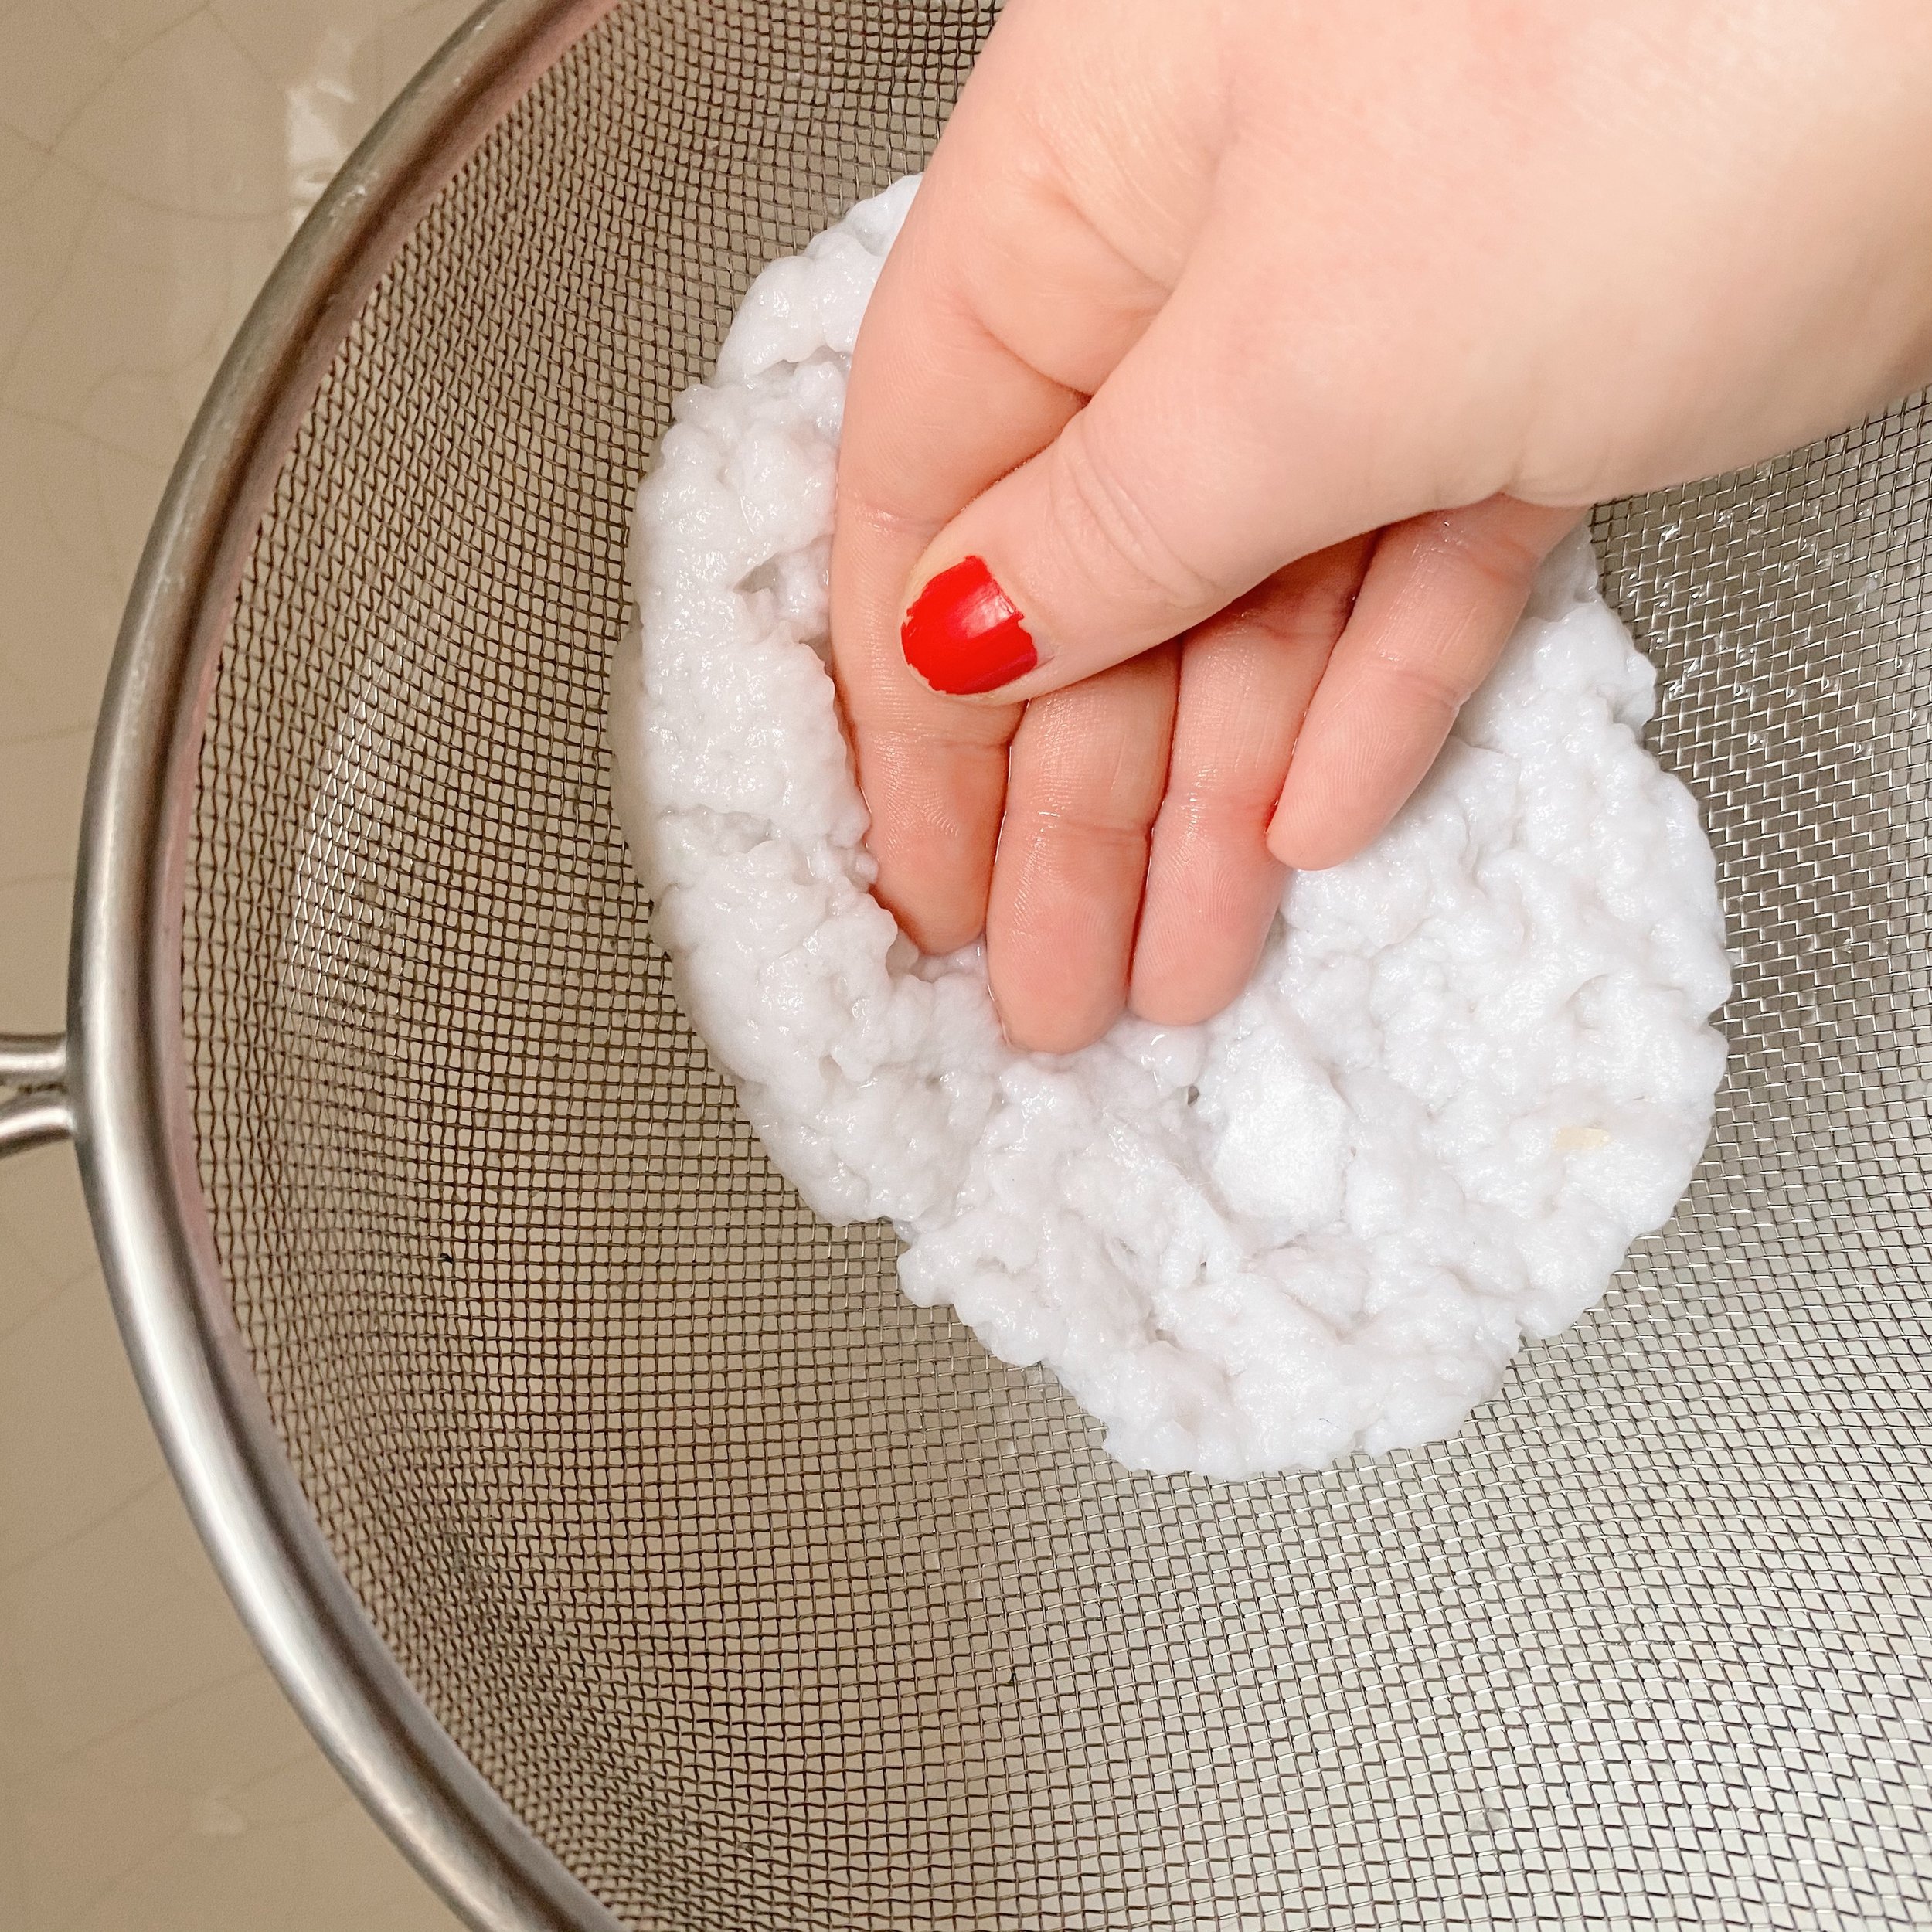
Blend until the water and paper have become a pulp, then empty into the sieve to squeeze the excess water through. Don’t remove all the water from the pulp as you’ll need to manipulate the pulp into its shape on the baking tray. If you remove too much excess water just pop back in the blender and add some more.
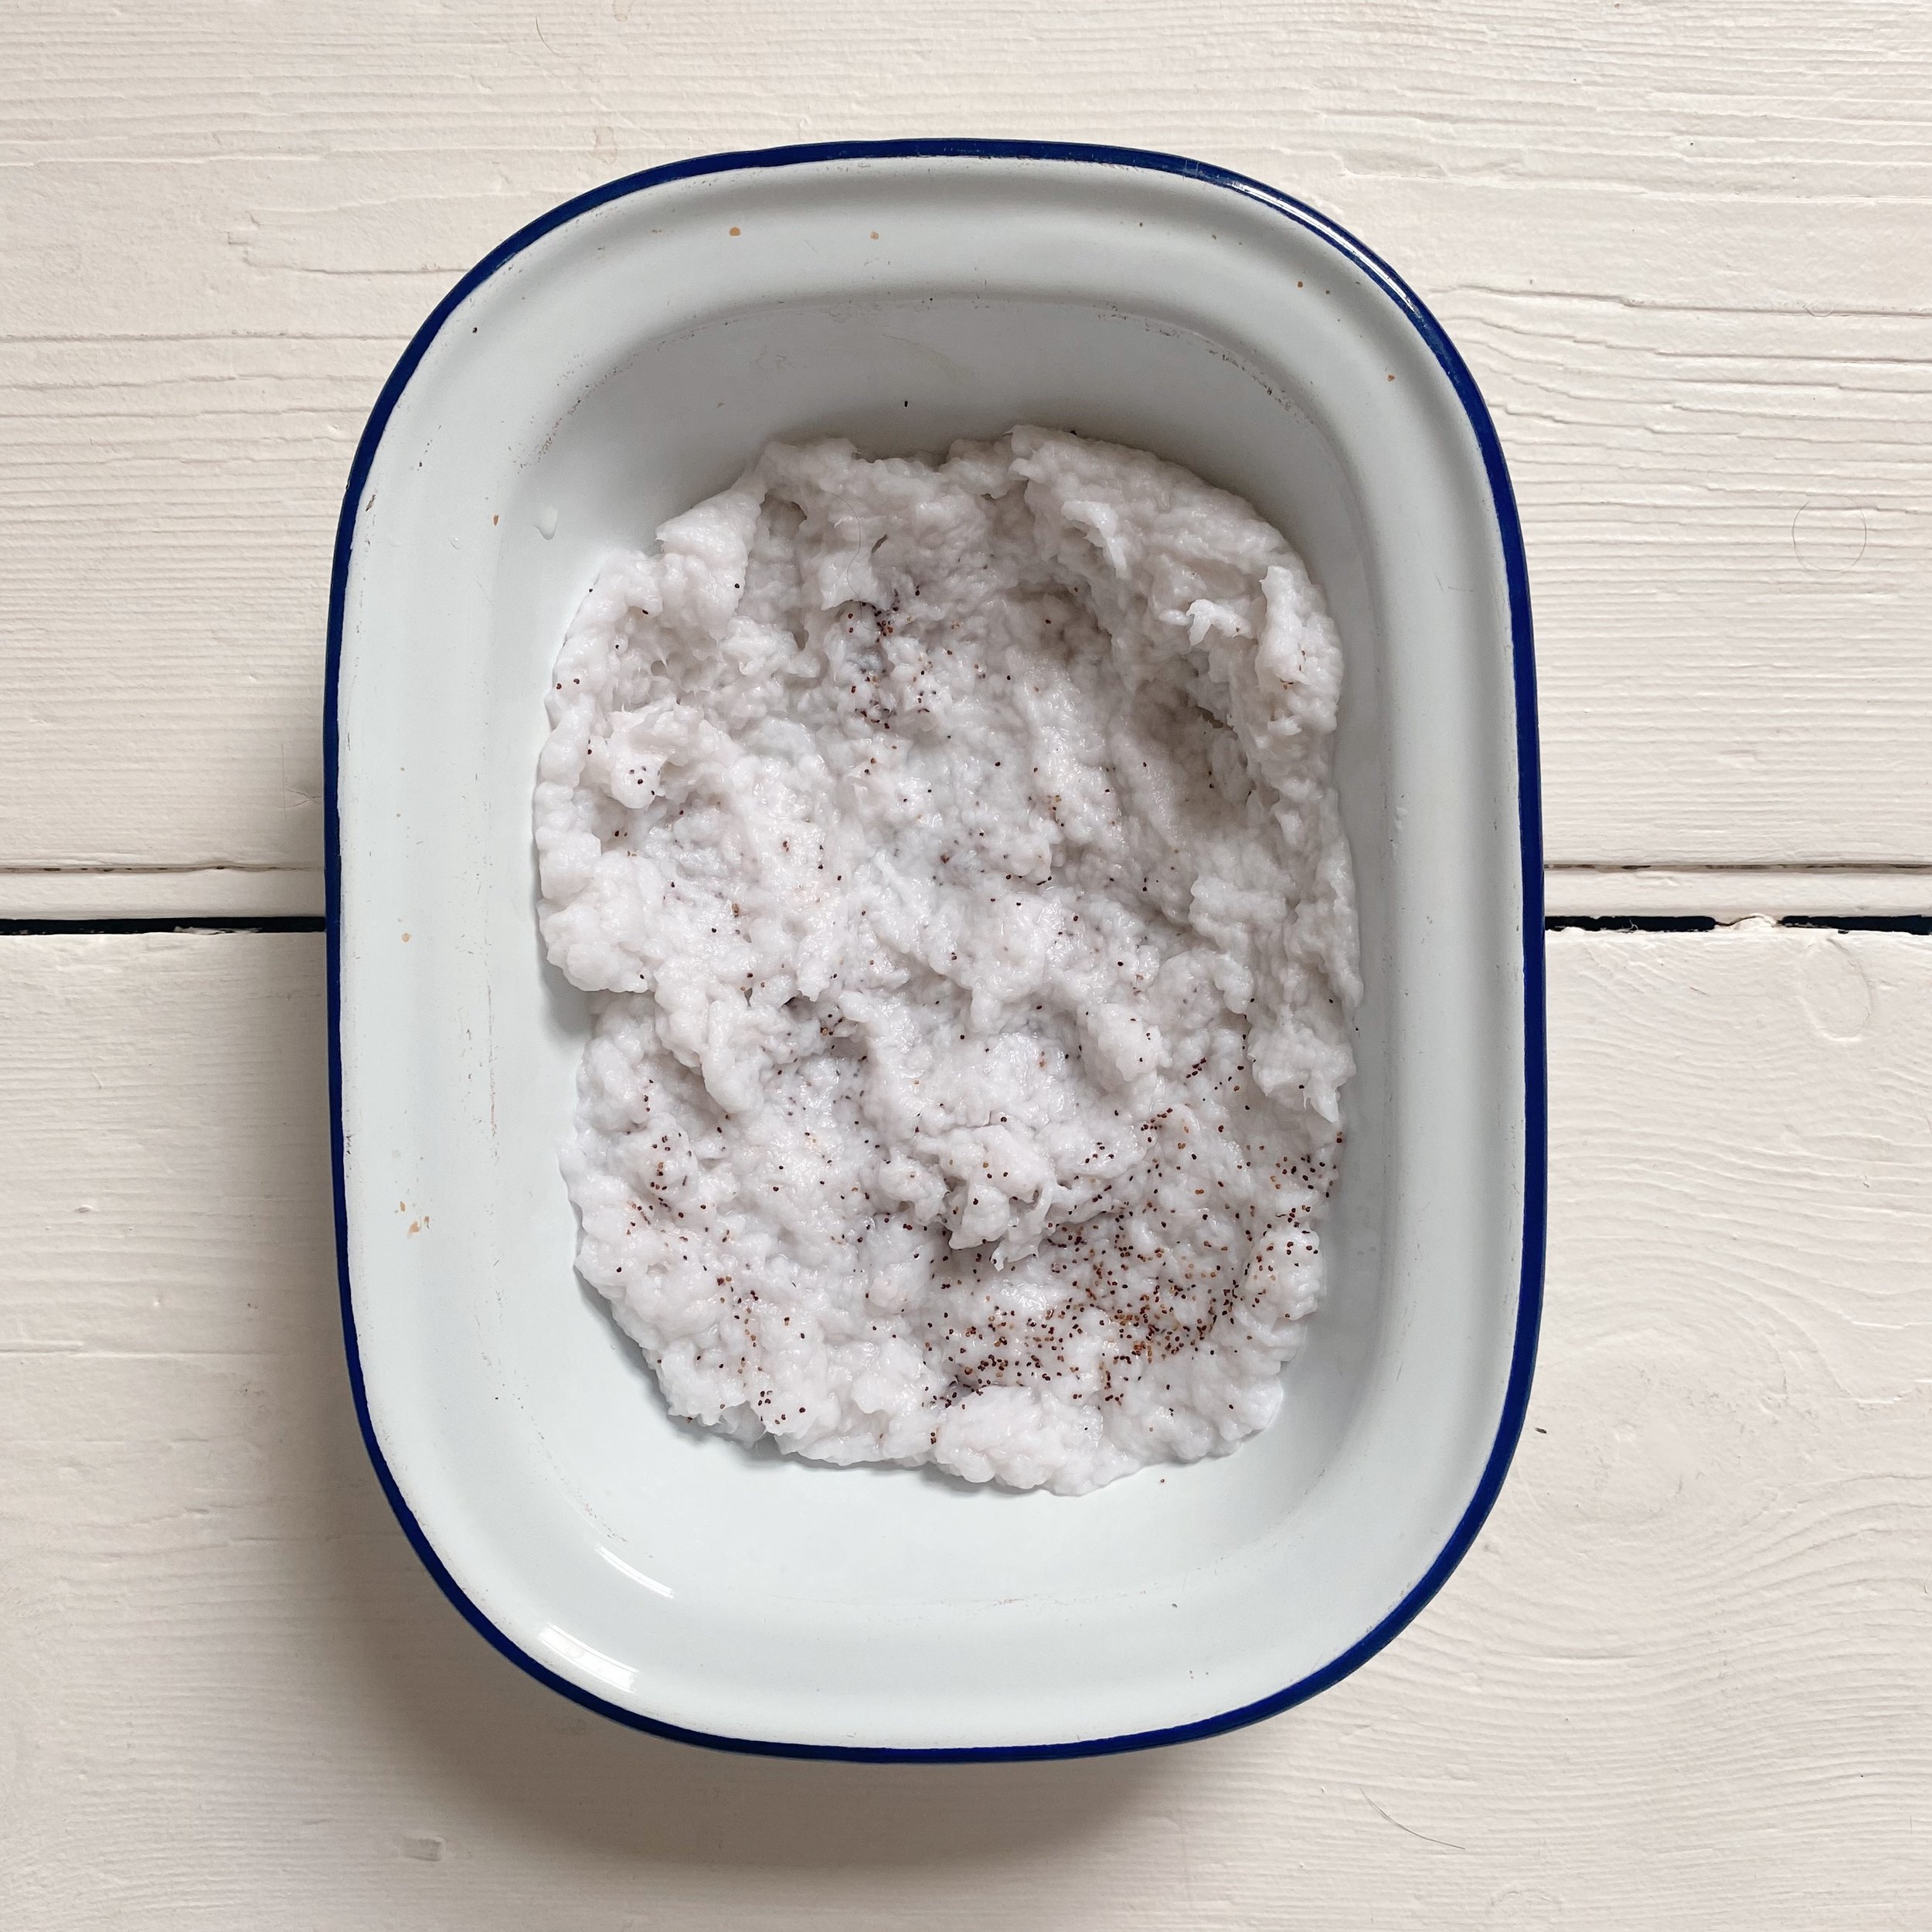
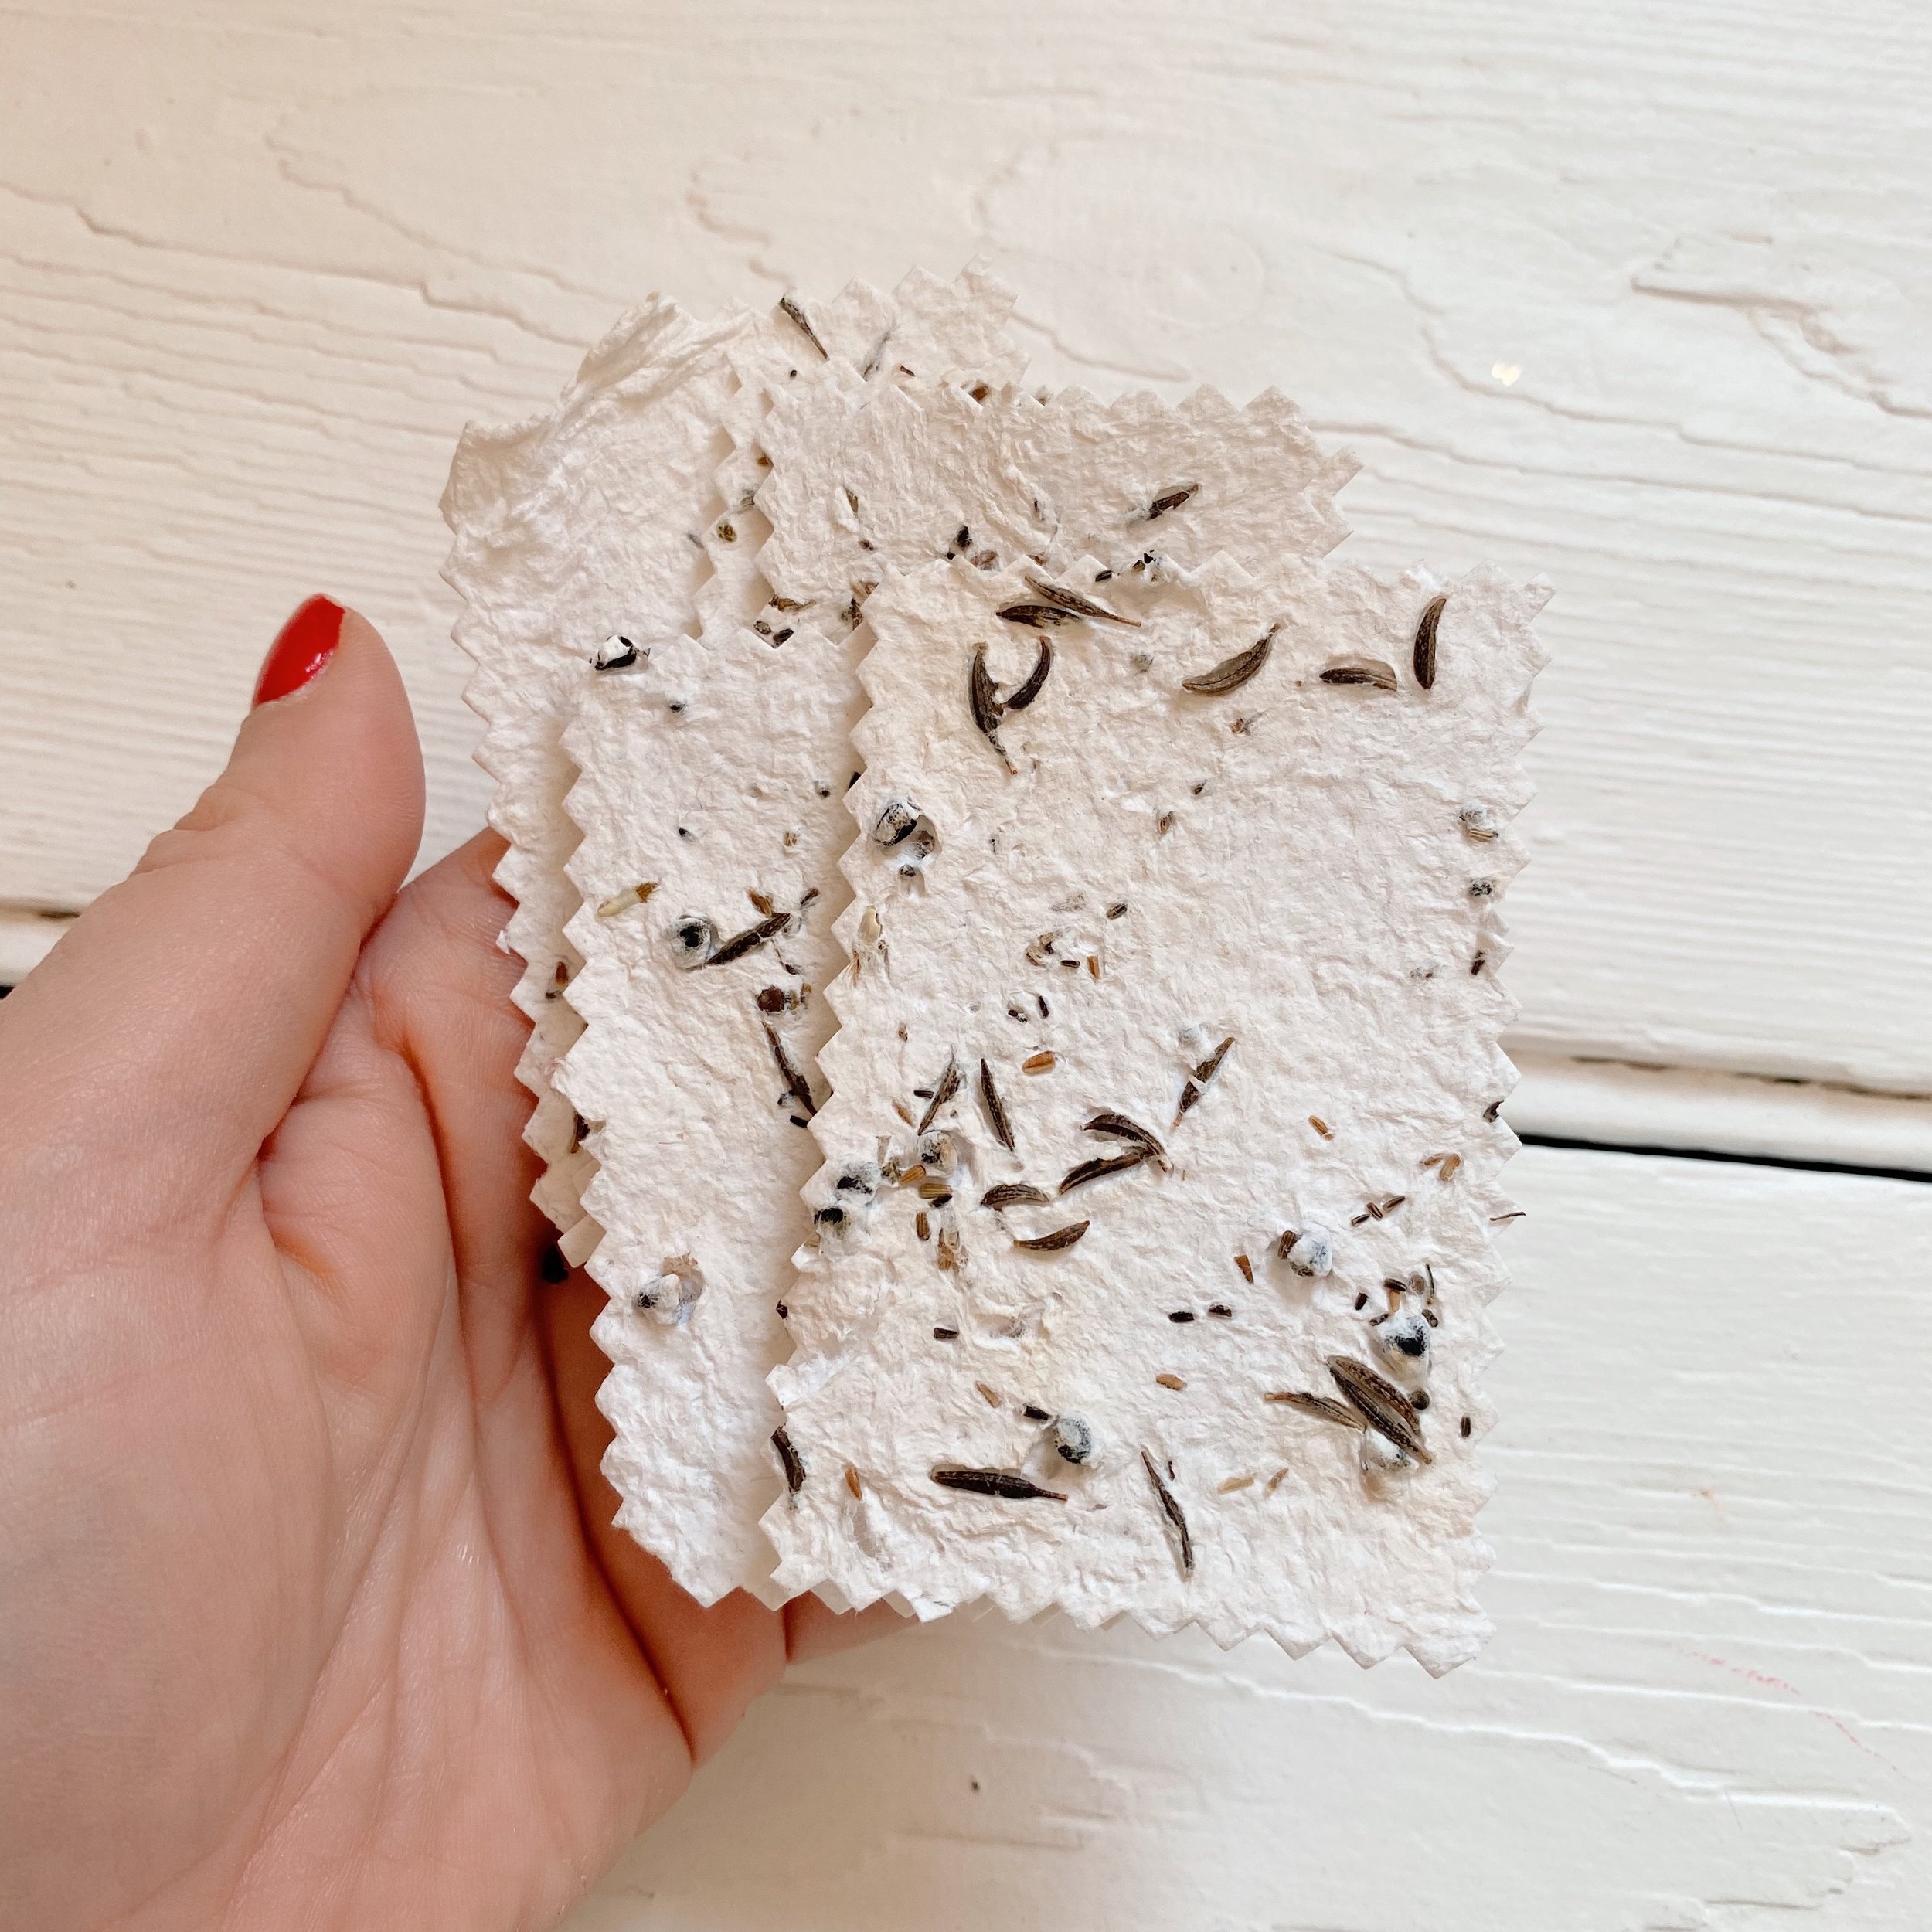
You can then add your seeds to the pulp. If you want to be able to use the paper to write on trying smaller wildflower seeds for a finer paper. I created a few notecards with a finer mix and then a few notecards with a heavier seed which were to be gifted as plantable notelets
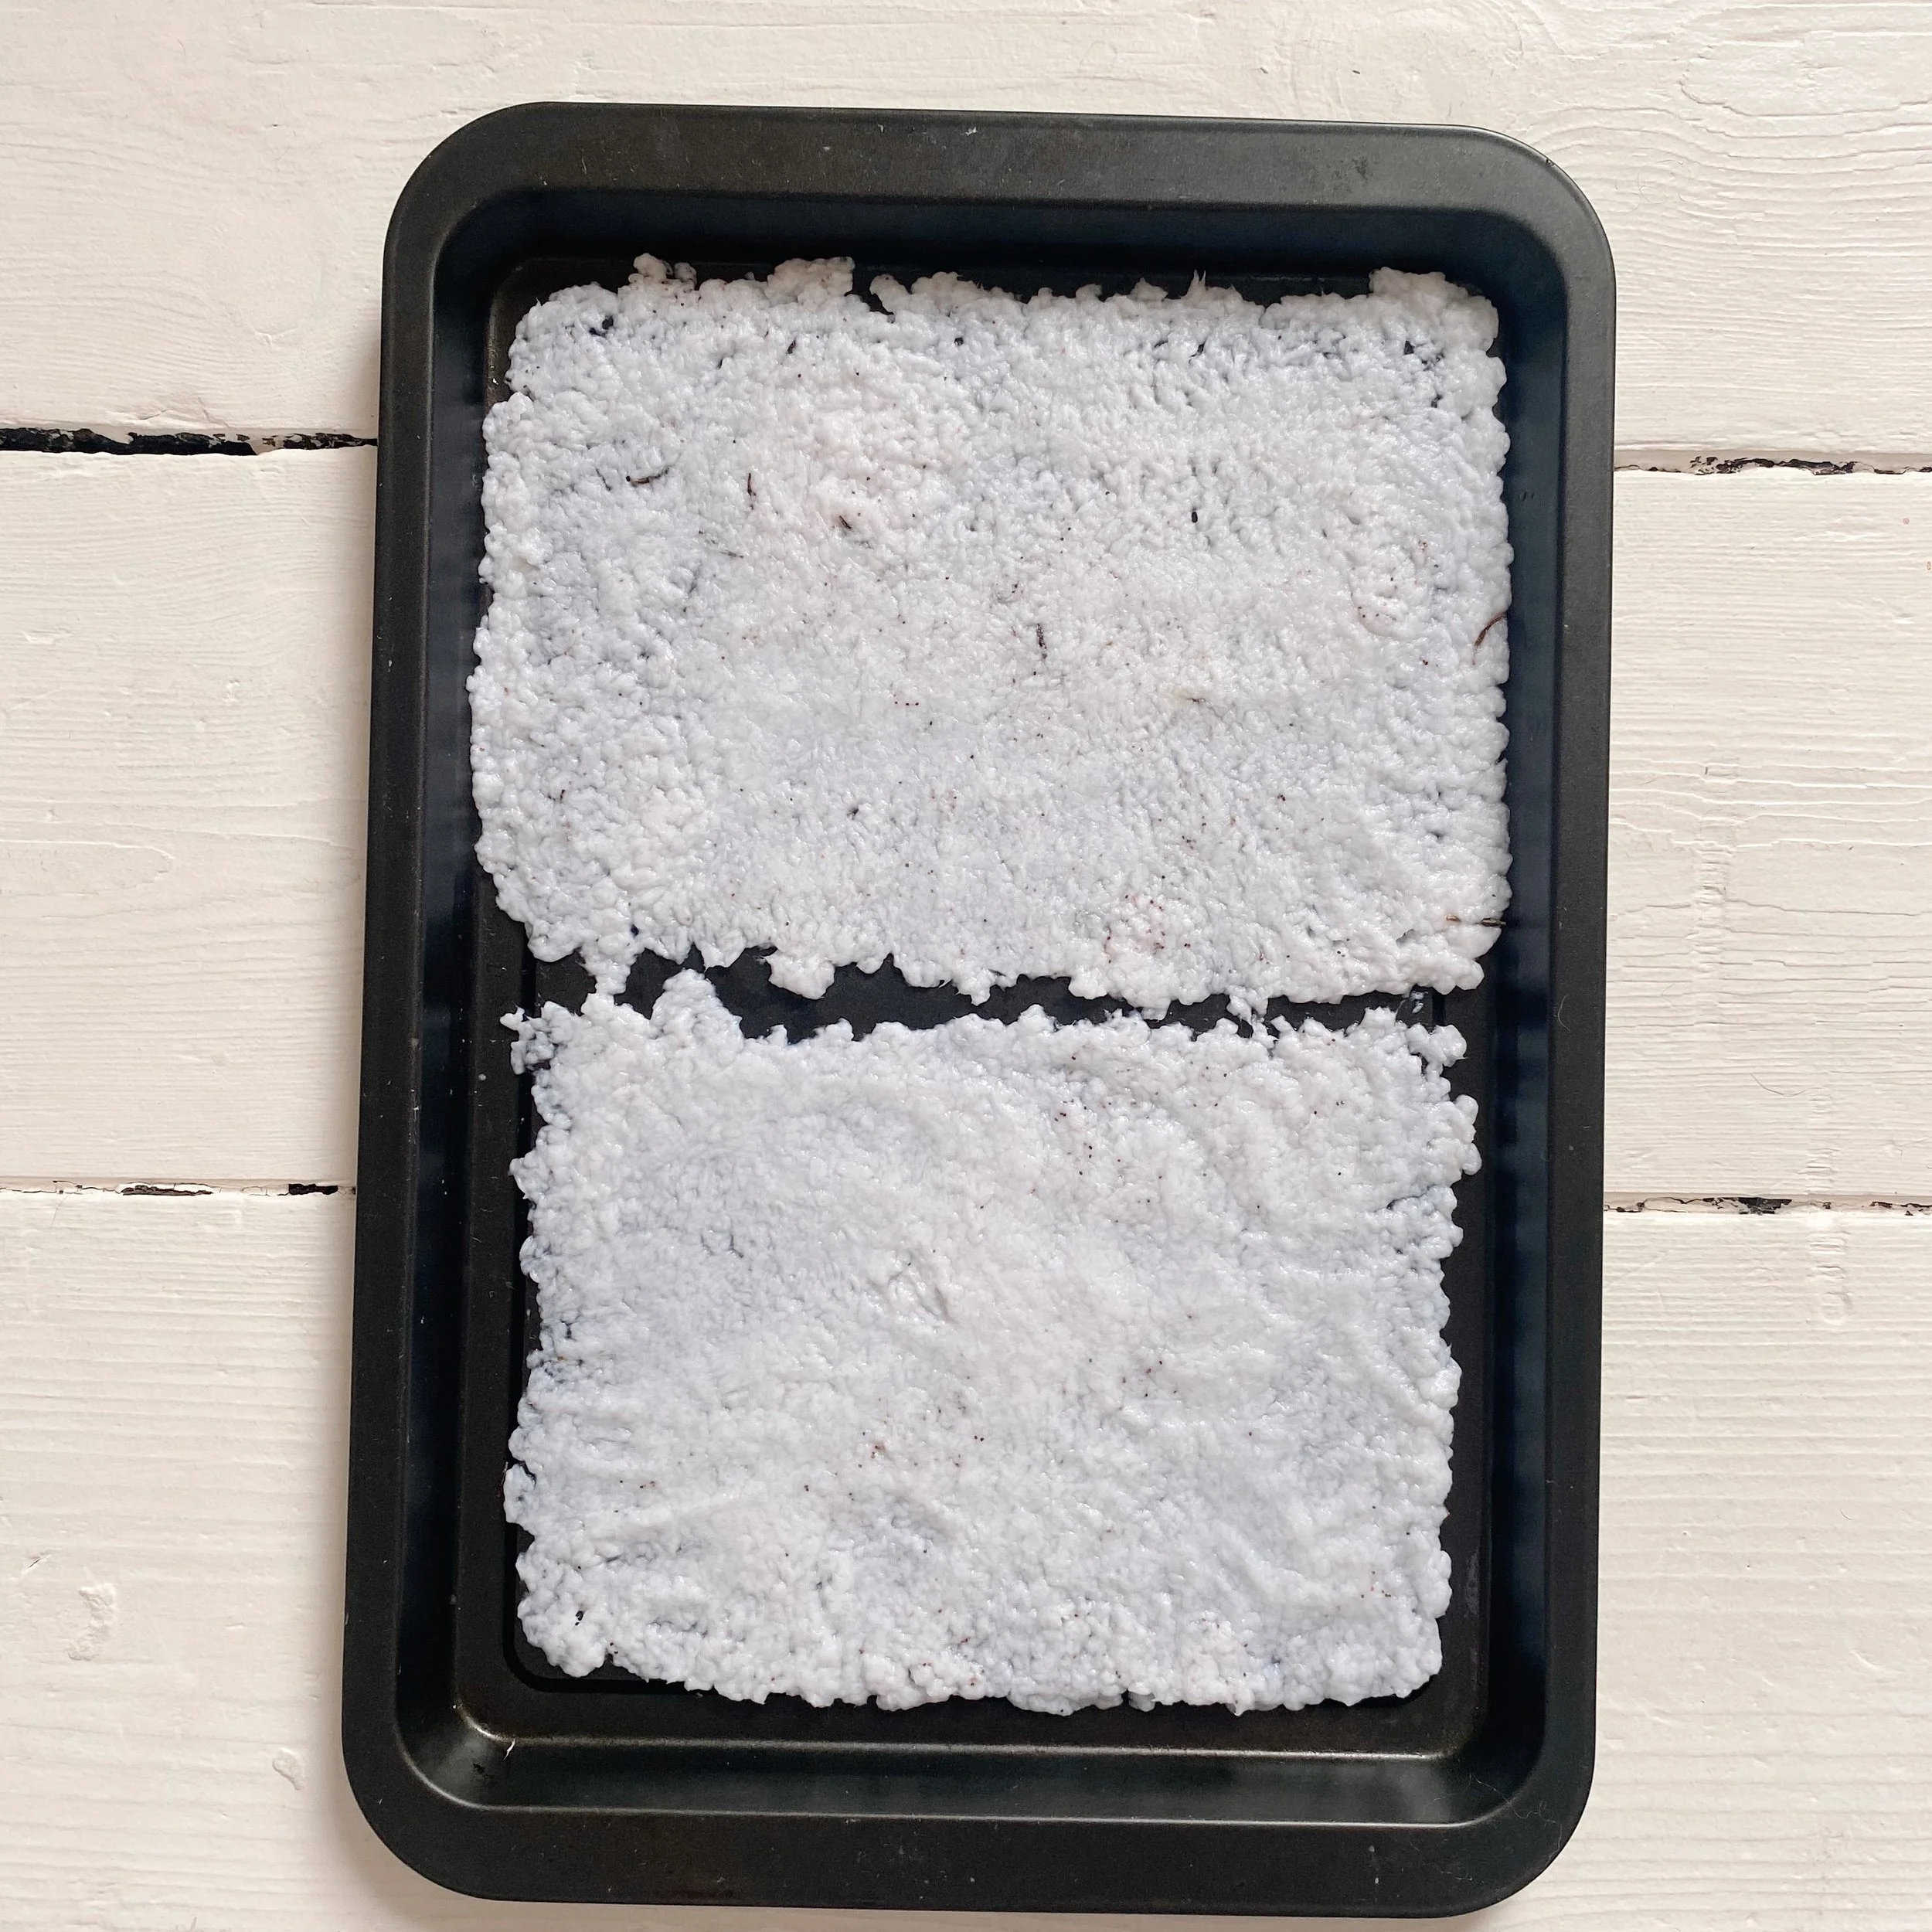
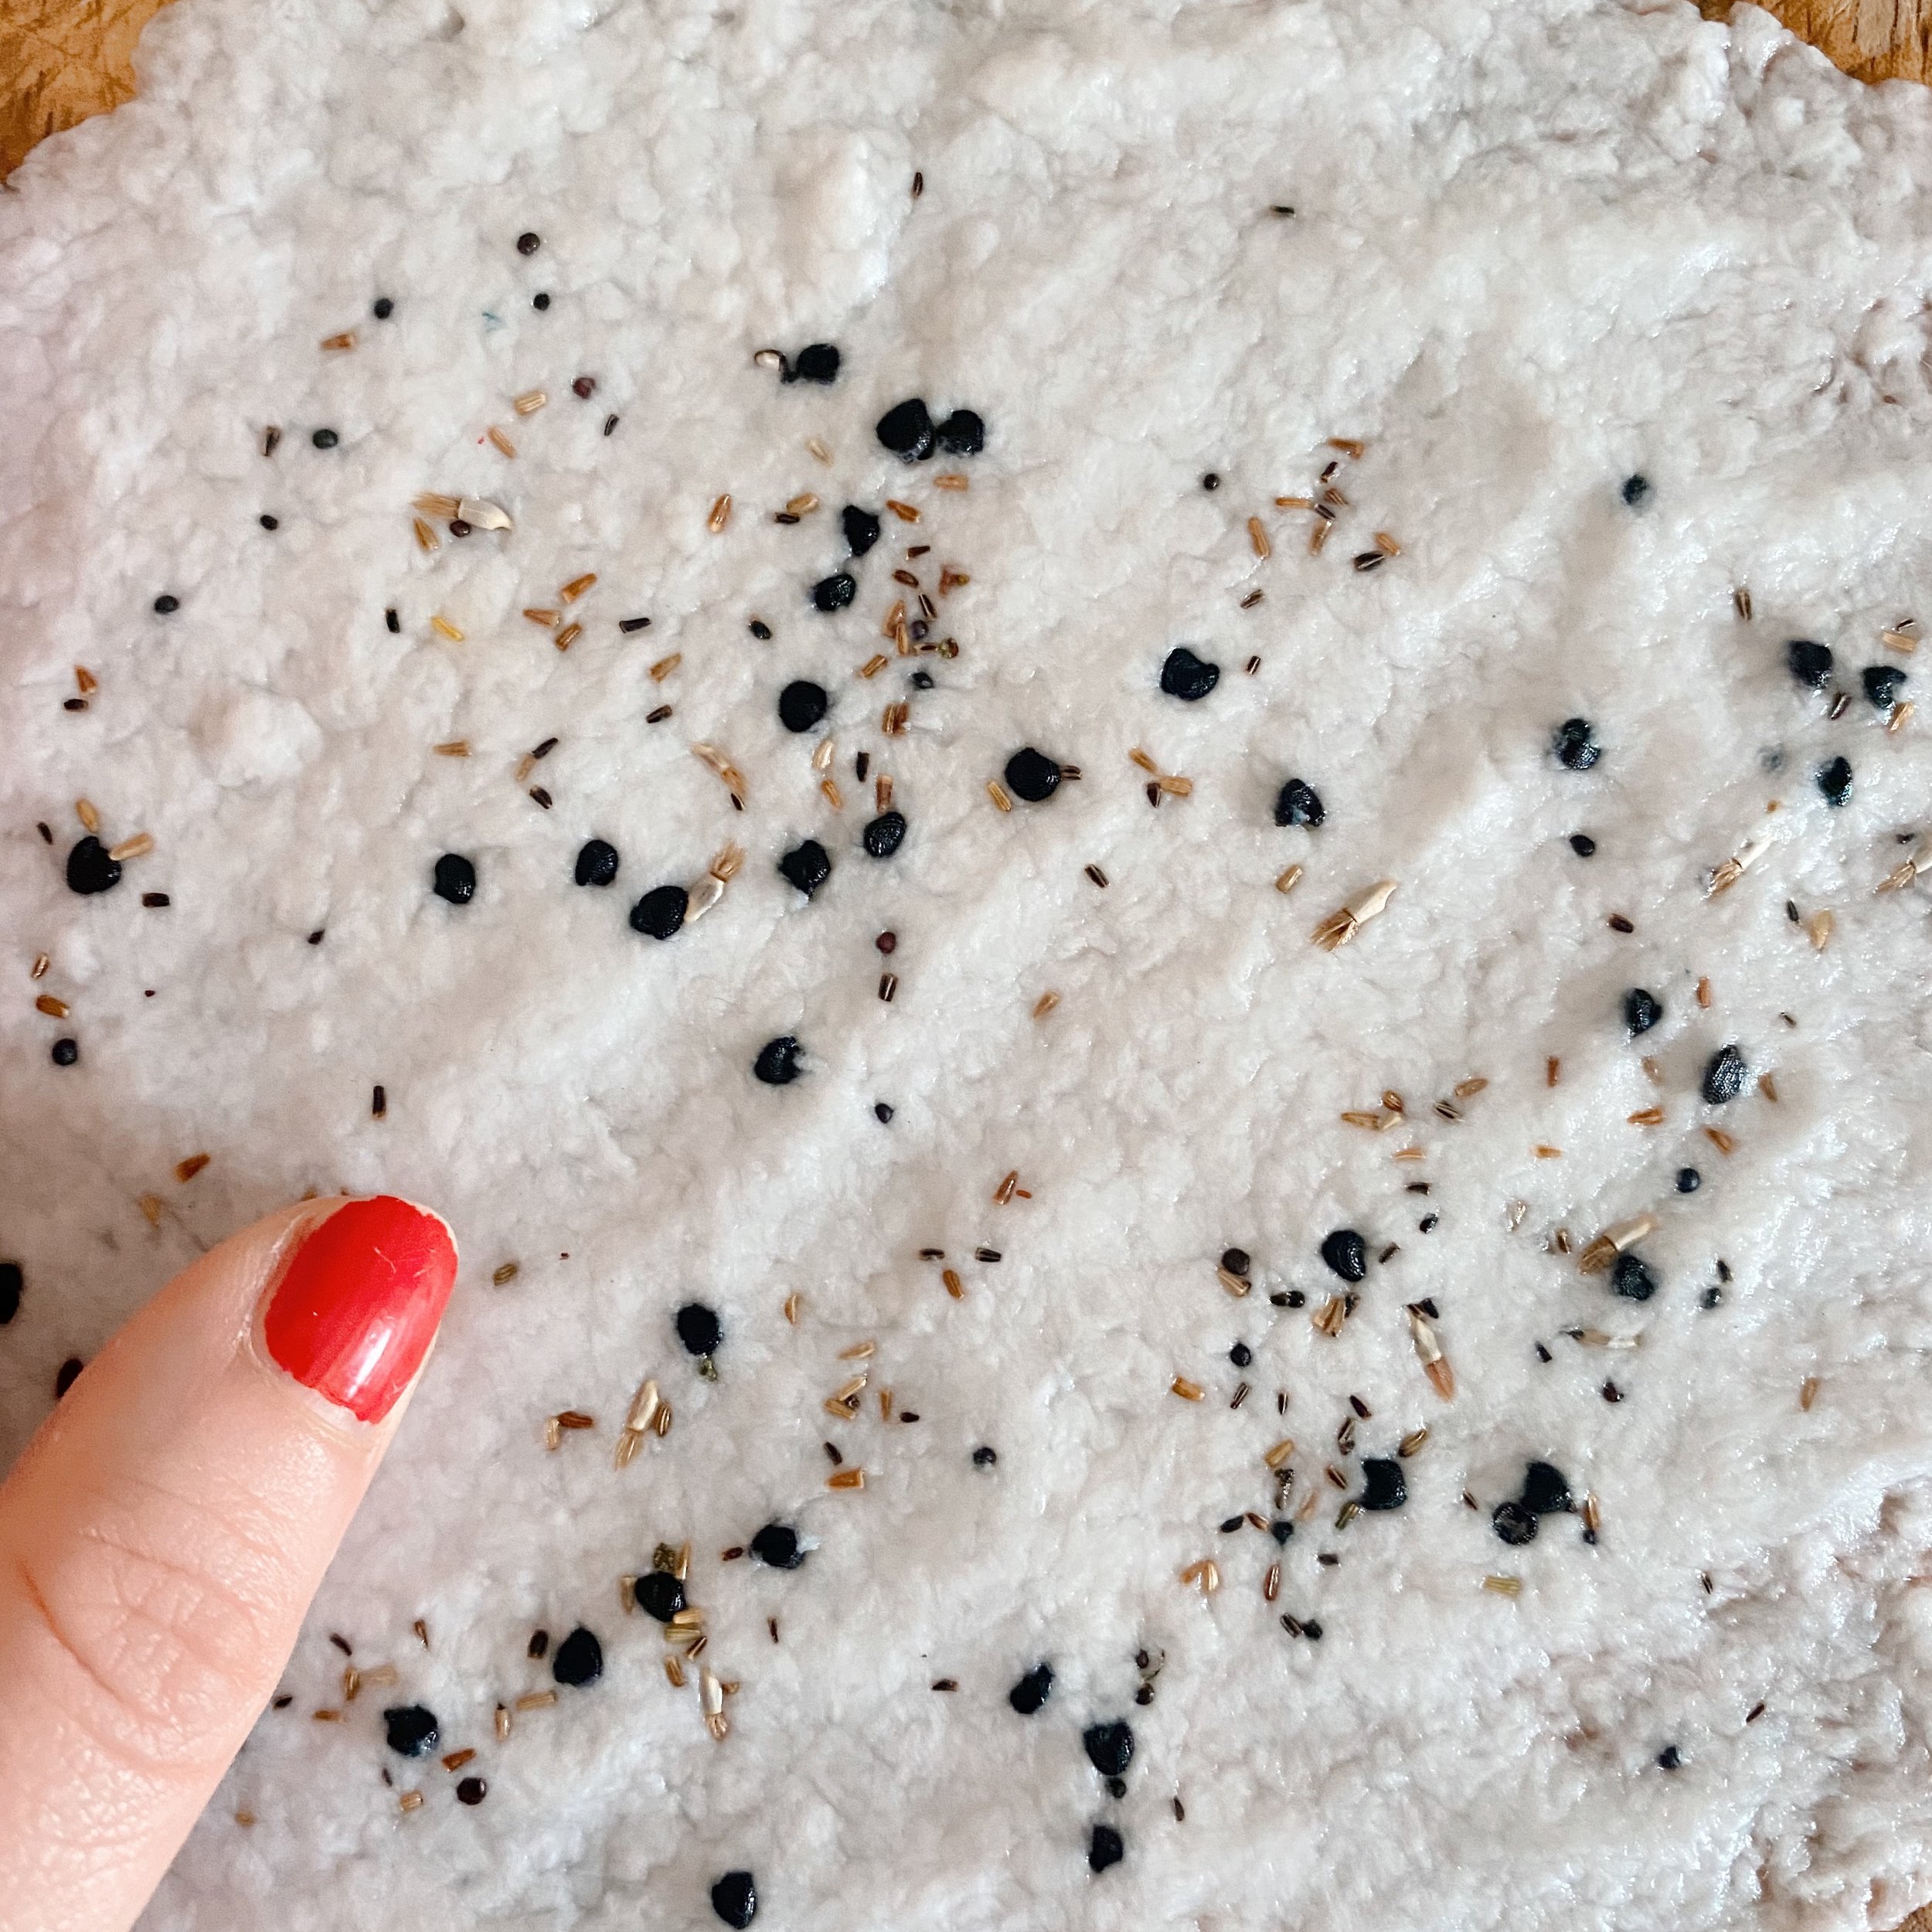
Spread your pulp onto a baking tray pressing down and moving around to spread out. Be sure there are no gaps and the pulp is evenly spread for an even sheet of paper and work your pulp into the size sheet you want to create. Leave to dry for 48 hours, if you can place your tray in an airing cupboard this will help or lightly blow-dry the sheets before leaving to help eliminate excess water.
Once your seeded paper is dry you can either tear it into shapes you want or use pinking shears to create pattern mini notecards, glue on pressed flowers for a botanical touch or tie with scrap fabric ready to gift to friends.
